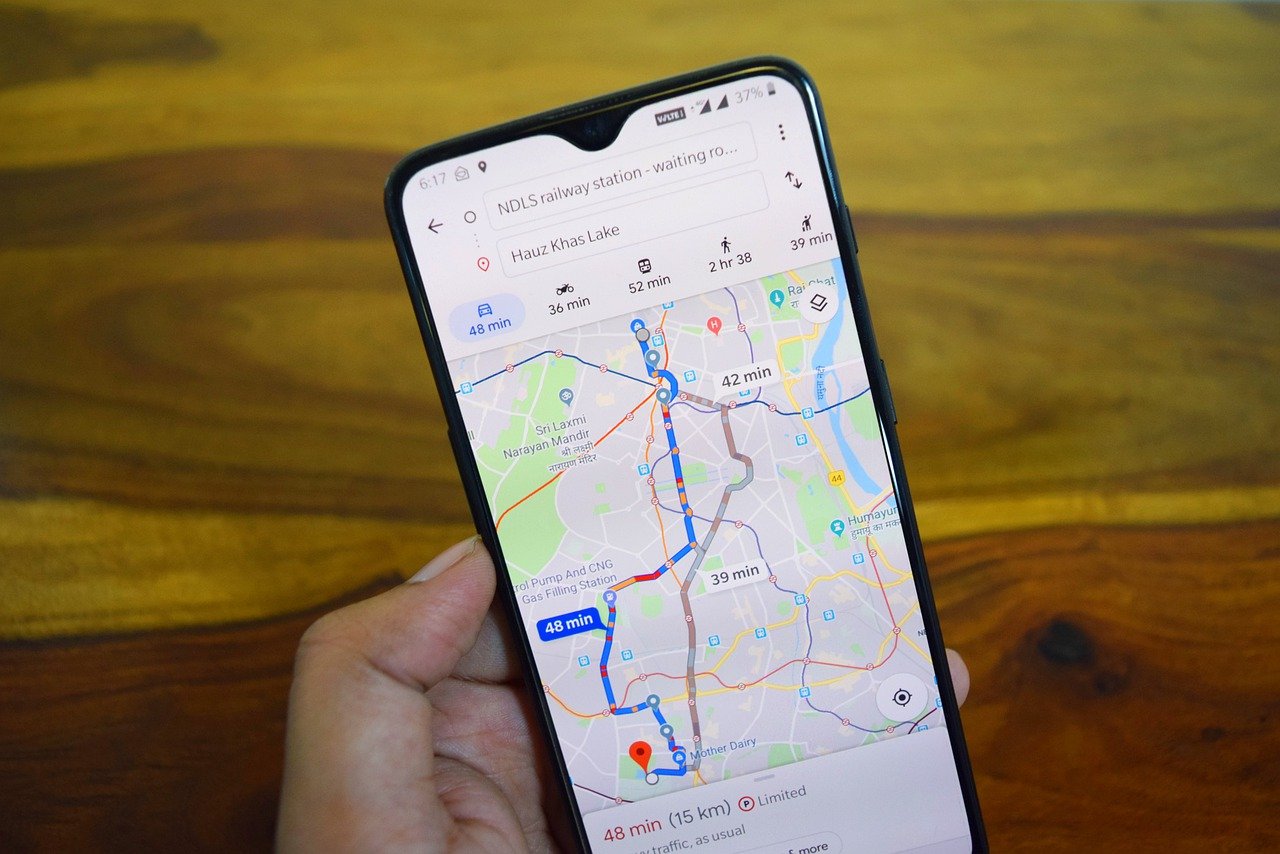
Customizing a Google map doesn’t take any special software. All you need is Google Maps on your desktop and a few minutes to read the instructions we’ve listed below, and you’re good to go!
How to Customize a Google Map
Get Set Up
Unfortunately, you can’t create a new landscape with a custom map. Instead, you’re required to use Google’s earth setup. However, you can add your own landmarks, locations, and routes. Additionally, you can draw your own shapes on the existing map for added detail.
You can only customize a Google Map using the web version. However, you can view your custom map on the mobile app version.
To begin, navigate to the Google Maps website and log in using your Google account details. After you’re logged in, select the hamburger menu icon in the top-left-hand corner. This will bring up an options menu. From this menu, select the “Your Places” option.
A new menu will appear on the left. From this menu, choose the “Maps” tab, then click “Create Map.” A new tab will open containing a map creation window. Begin by naming your map by selecting the “Untitled map” text at the top of the menu on the left. This will open a text box where you can change the map title and add a description. Finally, click the “Save” button to save it.
Add Layers
A custom Google Map is made up of layers. The “Base Map” layer is the main Google Maps view. This is also the bottom layer of your map. When creating a new custom map, a new “Untitled Layer” is automatically added. You can modify the look of the “Base Map” layer by choosing the options arrow next to “Base Map” and selecting a different map theme.
You have the option of adding as many layers as you want to your map. This lets you separate different elements of your new map from each other. To add a layer, click the “Add layer” button in the menu.
To name your layers, choose the three-dot menu icon next to the layer and choose “Rename Layer” from the drop-down menu. Alternatively, if you wish to delete a layer, select “Delete Layer.”
Add Elements
You can customize your Google map with a variety of different components. These components include shapes, lines, marker points, and custom directions.
To add shapes and lines will require drawing on a Google Map:
- You’ll need to select the “Draw a Line” option from the menu located below the search bar.
- You need to choose “Add line or shape.” After you’ve made these selections, you can draw a line or share using your mouse or trackpad.
- You can create a joined-up shape by connecting multiple lines.
Once you’ve done this, you’ll want to add a custom name and description to your object. Click on the element you’ve created, and a pop-up menu will appear with the options to add a name and description. After adding a name and description, click “Save.”
To add marker points to your map:
- Find a suitable area on the “Base Map” layer.
- Select the “Add Marker” button from the menu underneath the search bar.
- Click on an area of the map with your mouse or trackpad.
After clicking on the map with your mouse or trackpad, a marker editor will appear. This editor gives you the option of adding a suitable name and description. Click “Save,” and the marker will be added to your map.
Lastly, to add custom directions to your map, click on the “Add Directions” option in the menu below the search bar. This will create a directions layer. The directions layer will show up in the menu on the left. In this menu, add your departure point to the “A” text box and the arrival point in the “B” text box.
After you’ve filled in the A and B text boxes, the map will display a route that shows how to navigate between points A and B.


