


Windows 10 has been around since 2015 and is regularly updated by Microsoft. Quality updates are applied cumulatively and installed automatically. In addition to these, a major update, known as a feature update, is released twice a year. This means that essentially a new version of Windows 10 is released about every six months, containing new features. These feature updates are not installed automatically. Rather the update is listed as being available in Windows Update, and the computer administrator can choose when to launch the installation.
If you choose not to install a Windows 10 feature update, you may find that your computer is left behind as future feature updates are released. It is possible to take control of the process and to download and install one of these major updates directly from Microsoft. This can be useful if your computer is a few versions behind. Or you may want to install a feature update as soon as it’s available from Microsoft, rather than waiting for it to be delivered by Windows Update. There may also be other reasons why you would want to take charge of this process, particularly in a corporate environment.
Windows 10 In-Place Upgrade
When installing a feature update manually, you’re likely to be carrying out an in-place upgrade of Windows 10. This means that you launch the upgrade from within Windows 10, rather than by booting from external installation media. In doing so you have the advantage that the applications and files in your existing installation are maintained. Having said that, you can choose to have these removed during the process should you wish to do so. The installation process involved would be equally applicable when upgrading to Windows 10 from Windows 7 or Windows 8.
Whilst these upgrades normally complete without any issues, it is possible that the upgrade will fail at some stage of the process. I’ve carried out numerous in-place upgrades myself, and I have successfully overcome any obstacles the vast majority of the time. In the event that obstacles can’t be overcome, it’s necessary to revert to a clean install of Windows 10. The disadvantage with this method is that, whilst none of the user’s files are lost, it is necessary to reinstall their applications afterwards.
Let’s look at how it should work, and then at a couple of methods for overcoming in-place upgrade failures.
Downloading the Installation File
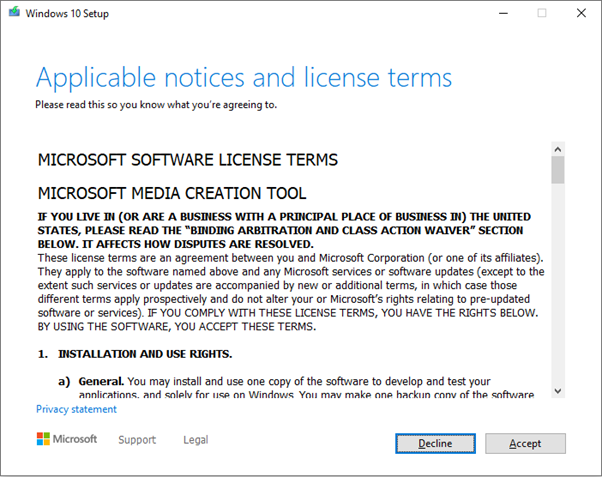
The first step is to download the ISO file for the Windows 10 upgrade from Microsoft. In order to do this, visit the Download Windows 10 page and click on the button entitled Download tool now. This will download the media creation tool. You should then run the tool and then accept the applicable notices and terms on the window which appears.
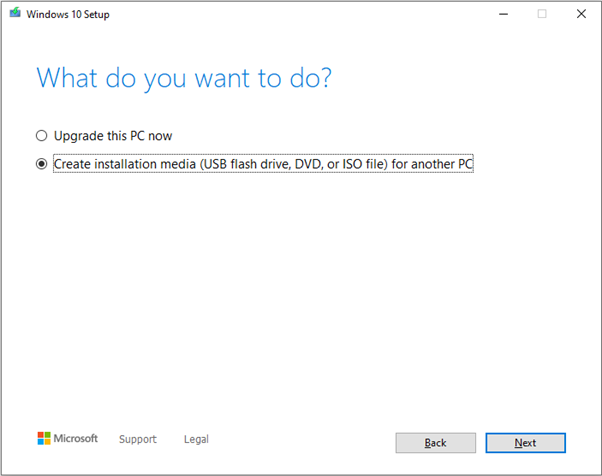
The tool will then get a few things ready and on the next screen you should select Create installation media and click Next.
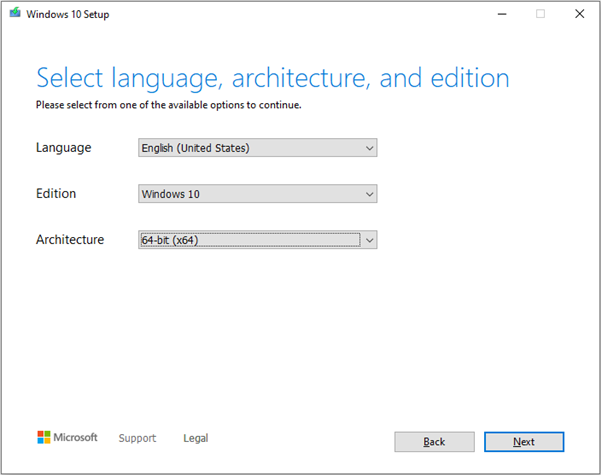
On the next screen you can specify your language, edition and architecture should you need to change these from the defaults.
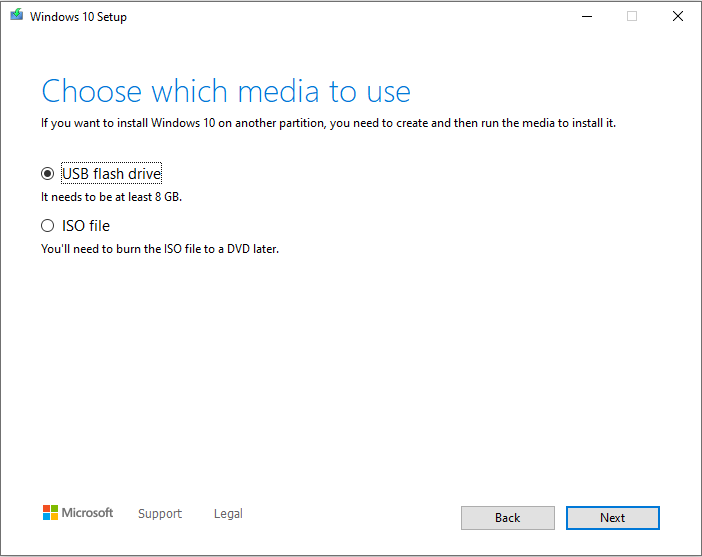
On the next screen, select ISO file and click Next.
You can then select where to save the ISO file. Following this the Windows 10 ISO file will be downloaded to your computer.
Normal In-Place Upgrade
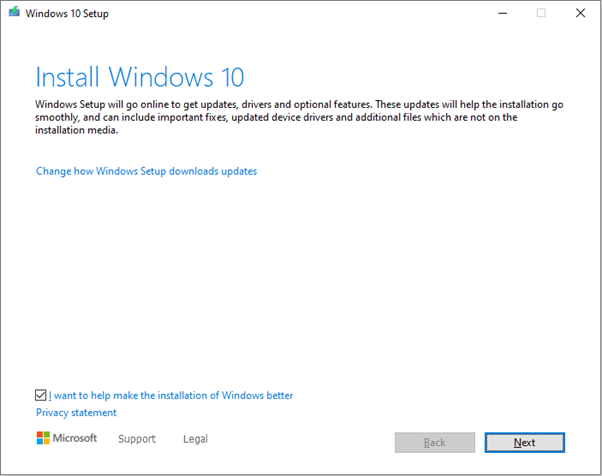
To perform a normal in-place upgrade using the ISO file you’ve just downloaded, begin by locating the downloaded file and double-clicking it. In the subsequent screen, double-click the file Setup and then click Yes to allow the app to make changes. When the Install Windows 10 window appears, click Next.
The installation tool will then check for updates, check your PC, and get things ready. You can then accept the applicable notices and terms by clicking Accept.

After the tool has downloaded updates, you can confirm what you want to keep. In most cases you will be keeping your personal files and apps.
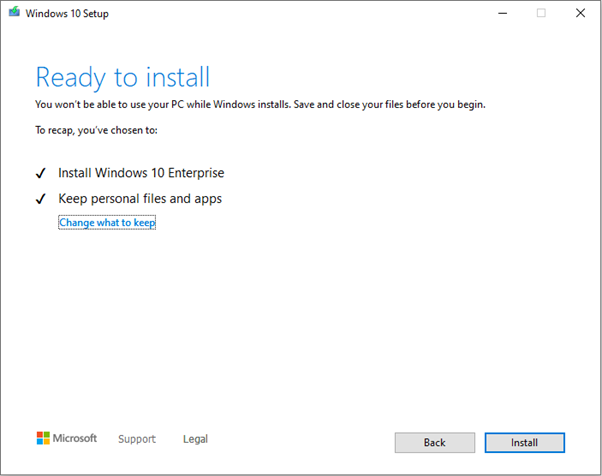
Click Install and the in-place upgrade will commence. A blue screen will be displayed, entitled Installing Windows 10. When the percentage reaches 100% the computer will restart. You will then be presented with another blue screen whilst the second phase of the upgrade takes place. If the upgrade is successful, you will eventually arrive at your usual log-in screen for Windows 10.
In the event that the upgrade fails, you’ll receive an error message at some stage in the process. If this happens, you may want to attempt the upgrade again with the computer offline before proceeding with either of the alternative methods below. By carrying out the upgrade offline, you prevent the download of updates during the process. In order to do this, just disconnect the ethernet cable from your computer, or disable the WiFi temporarily. Then proceed by double-clicking the setup file as above.
If the in-place upgrade fails again, you can attempt it using a clean boot, or from the command line.
Upgrade Using Clean Boot
A clean boot in Windows 10 entails booting the computer with no third-party applications or services running. In other words, only Microsoft services will be running. You need to configure the computer to boot in this manner prior to launching the upgrade so that, when it reboots during the process, no third-party services will be able to interfere with the process.
In order to configure the computer to perform a clean boot, two steps are involved.
- Click the Windows start button, type msconfig and then click on System Configuration. In the resulting window, select the Services tab, then click on Hide all Microsoft services. Click Disable all and then OK.

You can then select Exit without restart in the next window.
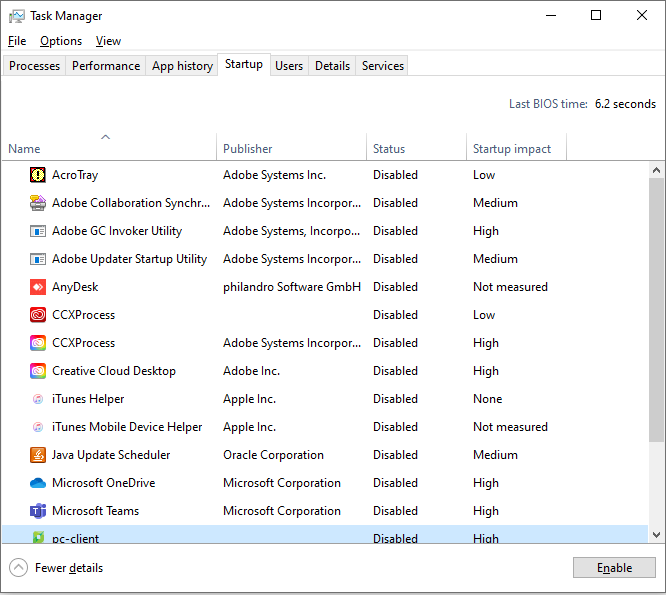
- Right-click on the taskbar and select Task Manager. Then select the Startup tab and set the status of each application to be Disabled.
Once you’ve configured the computer to perform a clean boot, you can restart the upgrade process as described earlier. If it does complete successfully, remember to go back into System Configuration to re-enable the non-Microsoft services, and into Task Manager to re-enable startup items afterward. Having said that, it also provides you with an opportunity to decide which services and startup items you actually want to have running on your computer.
Upgrade From the Command Line
Performing the upgrade from the command line gives you complete control over the upgrade process in a way that is not possible using the Graphical User Interface (GUI).
To launch the upgrade from the command line, first locate the downloaded ISO file and double-click it as above. Then take note of the drive letter on which the install has been mounted as shown here.
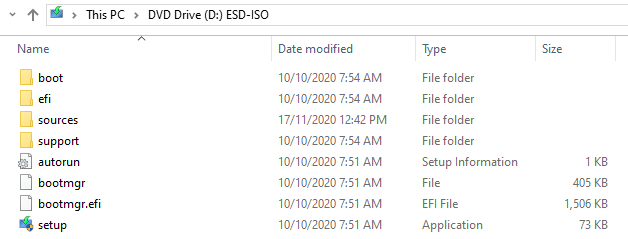
In this case it’s the D: drive as you can see in the address bar DVD Drive(D:) ESD-ISO.
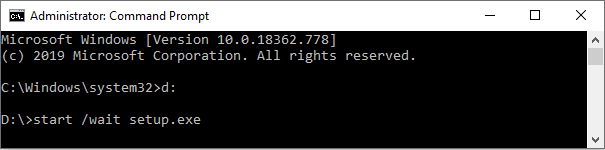
Now click on the Windows start button, type cmd, then right-click on Command Prompt and select Run as administrator. In the resulting command prompt window, type the drive letter, for example d: followed by <Enter>.
To run the upgrade from the command line, type start /wait setup.exe as shown below.
Before pressing <Enter> add whichever parameters you require. Following are the most useful options.
/Auto Upgrade – Performs the upgrade keeping your apps and data. This is the option you are likely to require.
/DynamicUpdate Disable – This option means that the upgrade will not search for, download, and install updates during the process. If you do want to install updates during the process you can change this to Enable.
/NoReboot – This is a useful option which means that the computer won’t restart after completion of the first phase of the update. You can continue to use the computer whilst the first phase is underway, and this option means that you can continue to use it until you are ready to reboot. Upon rebooting, the second phase of the upgrade will take place.
/Quiet – This option hides the upgrade wizard dialogue windows.
If you’re interested, check out the full list of Windows setup command line options. The options I’ve listed here are the ones you’re most likely to require.
Conclusion
I’ve carried out numerous in-place upgrades of Windows 10, including upgrades from Windows 7 and Windows 8. Usually these have gone according to plan. When they haven’t gone according to plan, I’ve usually been able resolve any issues either using a clean boot, or from the command line. Using the command line method also give you much greater control over the details of how the upgrade takes place, and this is particularly useful for system administrators.
This Windows 10 in-place upgrade guide was written by Norm McLaughlin. Norm is the founder of Norm’s Computer Services, a local business providing computer repairs and IT support in Brisbane, Australia.

